1-Wire Moisture Sensor
Three functionalities depend on a temperature/soil-moisture sensor:
- Skip Ice: Skip watering if the temperature is lower than 5 degrees Celsius. This functionality protects the plants and the valve from frost. It requires a temperature sensor.
- Heat Boost: When the maximum recorded temperature of the day is greater than the value specified by the user, watering duration is increased by a specified percentage. It requires a temperature sensor.
- Moisture Limit: Skip watering if the soil moisture level is greater than the value specified by the user. This functionality is really important because it prevents over-watering when the soil is already humid. It requires a soil-moisture sensor.
Functionalities 1 and 2 can be achieved using the controller's internal temperature sensor or an external DS18B20 wired temperature sensor; functionalities 1, 2, and 3 can be achieved using the Picapot PS100 external soil-moisture and temperature sensor.
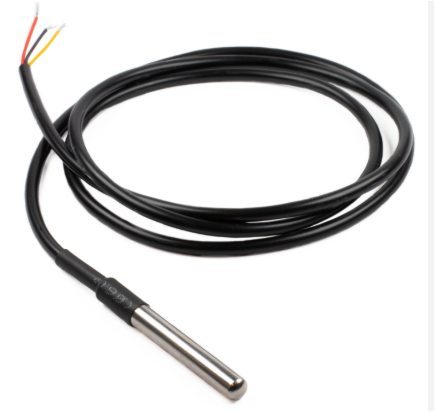
DS18B20 Temperature Sensor
If you don't need functionality n.3, you can optionally connect a waterproof wired DS18B20 sensor and bury it in the soil.
The Picapot controller already includes an internal temperature sensor, but measuring the soil temperature is far more accurate than measuring the temperature inside a metal enclosure.
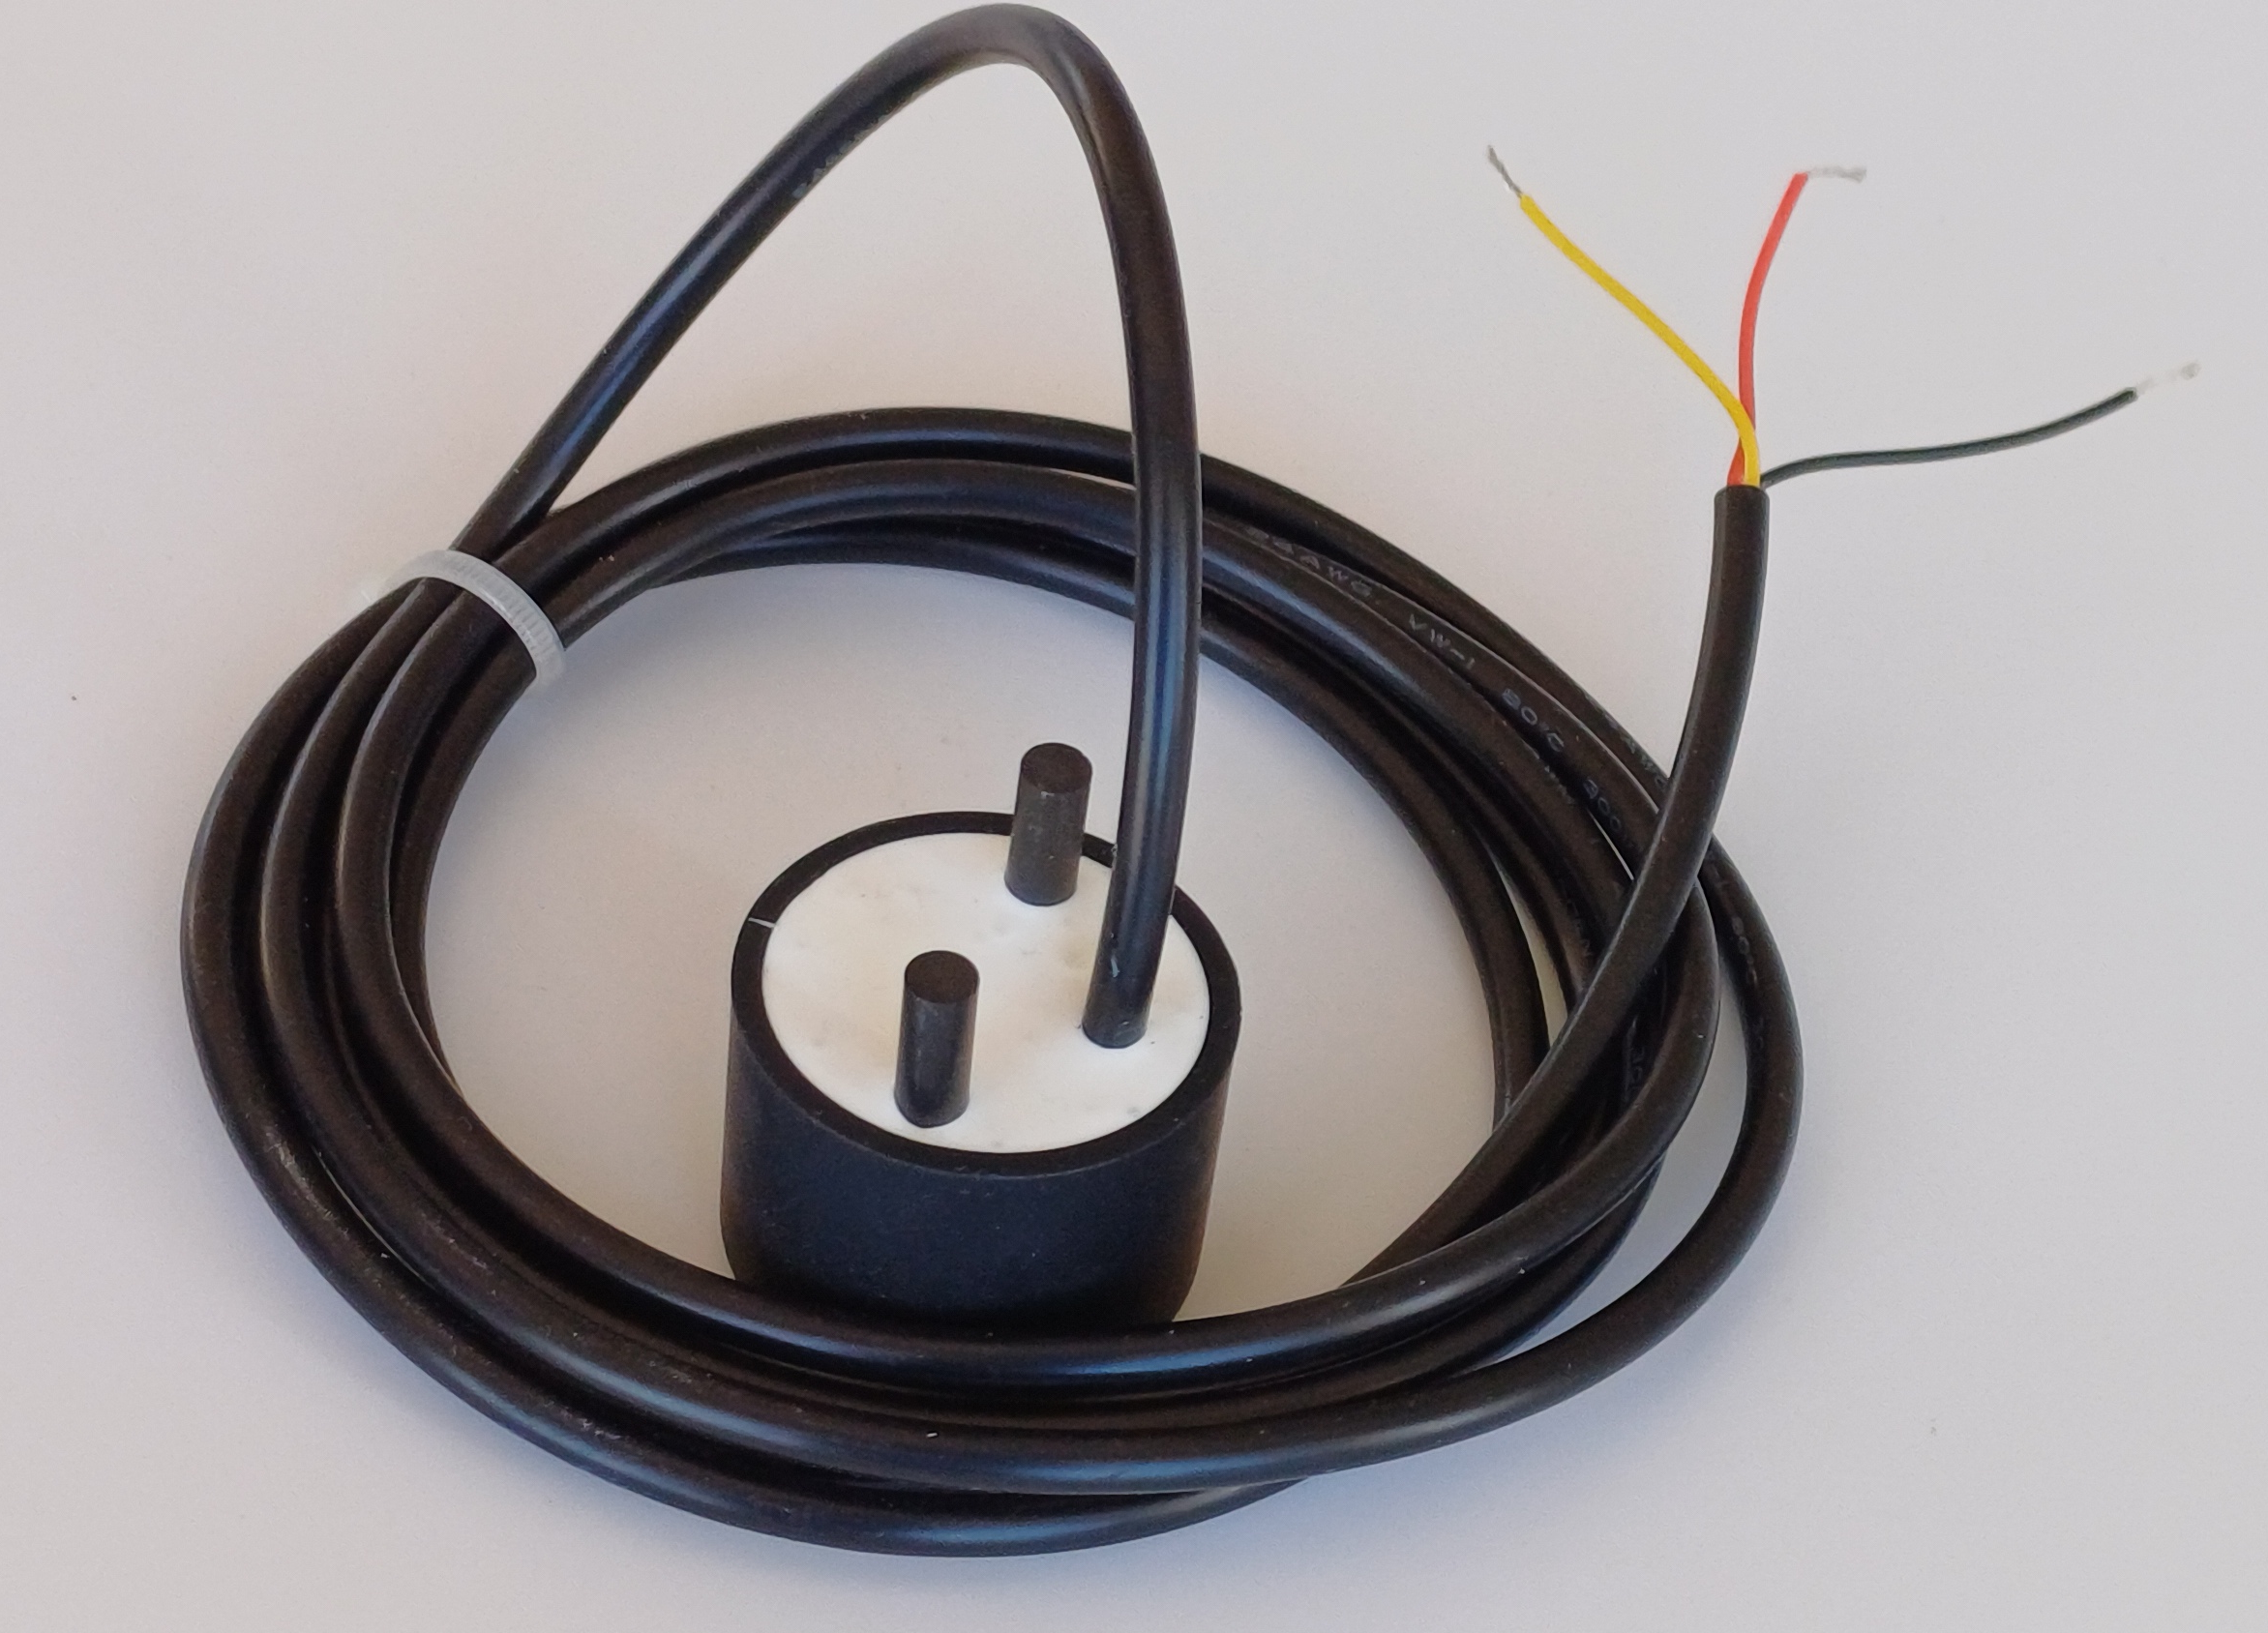
PS100 Soil Moisture and Temperature Sensor
PS100 provides consistent soil moisture measurements that can serve as a reference for triggering watering cycles. The plants' health will greatly benefit from it, and water waste will be reduced.
This resistive temperature-compensated sensor uses carbon fiber probes and is encased in a high-density silicone shell.
The absence of parts exposed to oxidation, electrolysis, or erosion makes this sensor ideal for continuous monitoring of wet cultivation.
You can find all the technical details and instructions on how to use it in the datasheet PDF.
Build PS100
The PS100 PCB adopts SMD components and uses two special clips to hold the carbon fiber probes in place.
You can find all the information you need to produce the PCB and the clips yourself below; however, to get started faster and at a lower cost, you can also buy a kit from me that contains one pre-soldered, pre-programmed PCB and the rest of the components needed to finish the sensor.

Assembly instructions
Step 1 - Calibrate and upload the firmware
If you bought the PS100 kit, you can skip this step because the firmware has already been uploaded and the sensor has already been calibrated.
Source code: https://github.com/Picapot/picapot-controller-328
A precompiled .hex file is available in the repository for direct upload to the microcontroller, without compiling the source code. If you just want to get started quickly, use the precompiled firmware.
Step 2 – Solder the clips and the cable
blah blah

Step 3 – Insert the probes and glue them in place
blah blah

Step 4 – Pot the module with silicone
Once the firmware has been uploaded and the cable and the probes installed, the module can be potted in a silicone cap filled with 704 silicone.

Other info
Probes and Clips
Source code: https://github.com/Picapot/picapot-controller-328
A precompiled .hex file is available in the repository for direct upload to the microcontroller, without compiling the source code. If you just want to get started quickly, use the precompiled firmware.