Buttons Potting
Overview → PCB → Components → Sensor → Enclosure → Software → Valve → Installation
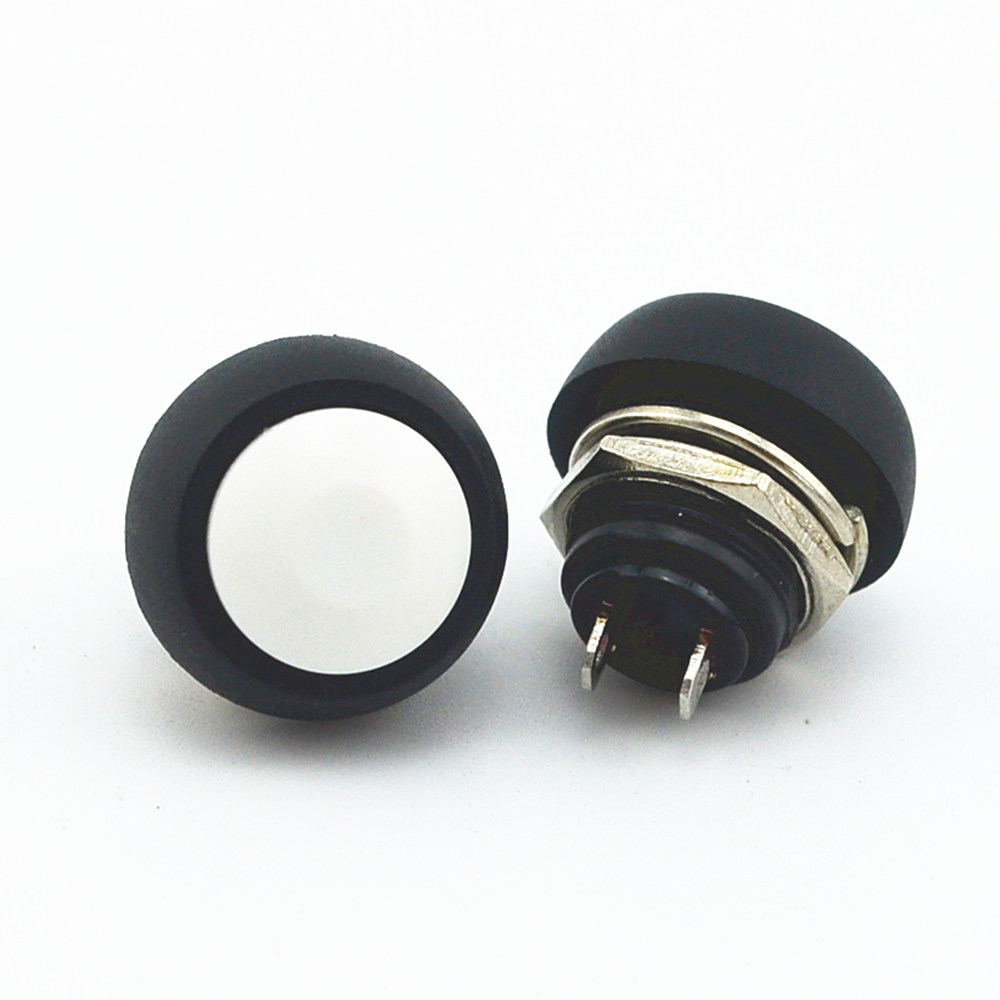
If you decide to use the plastic buttons in place of the metal ones, you need to "pot" the buttons to make them steady and the holes completely waterproof.
Optionally, this process can be applied also to the metal buttons which rely on the O-ring gasket to be waterproof. But if the O-ring gasket loses its elasticity with age, the button could become loose.
How to “pot” the buttons
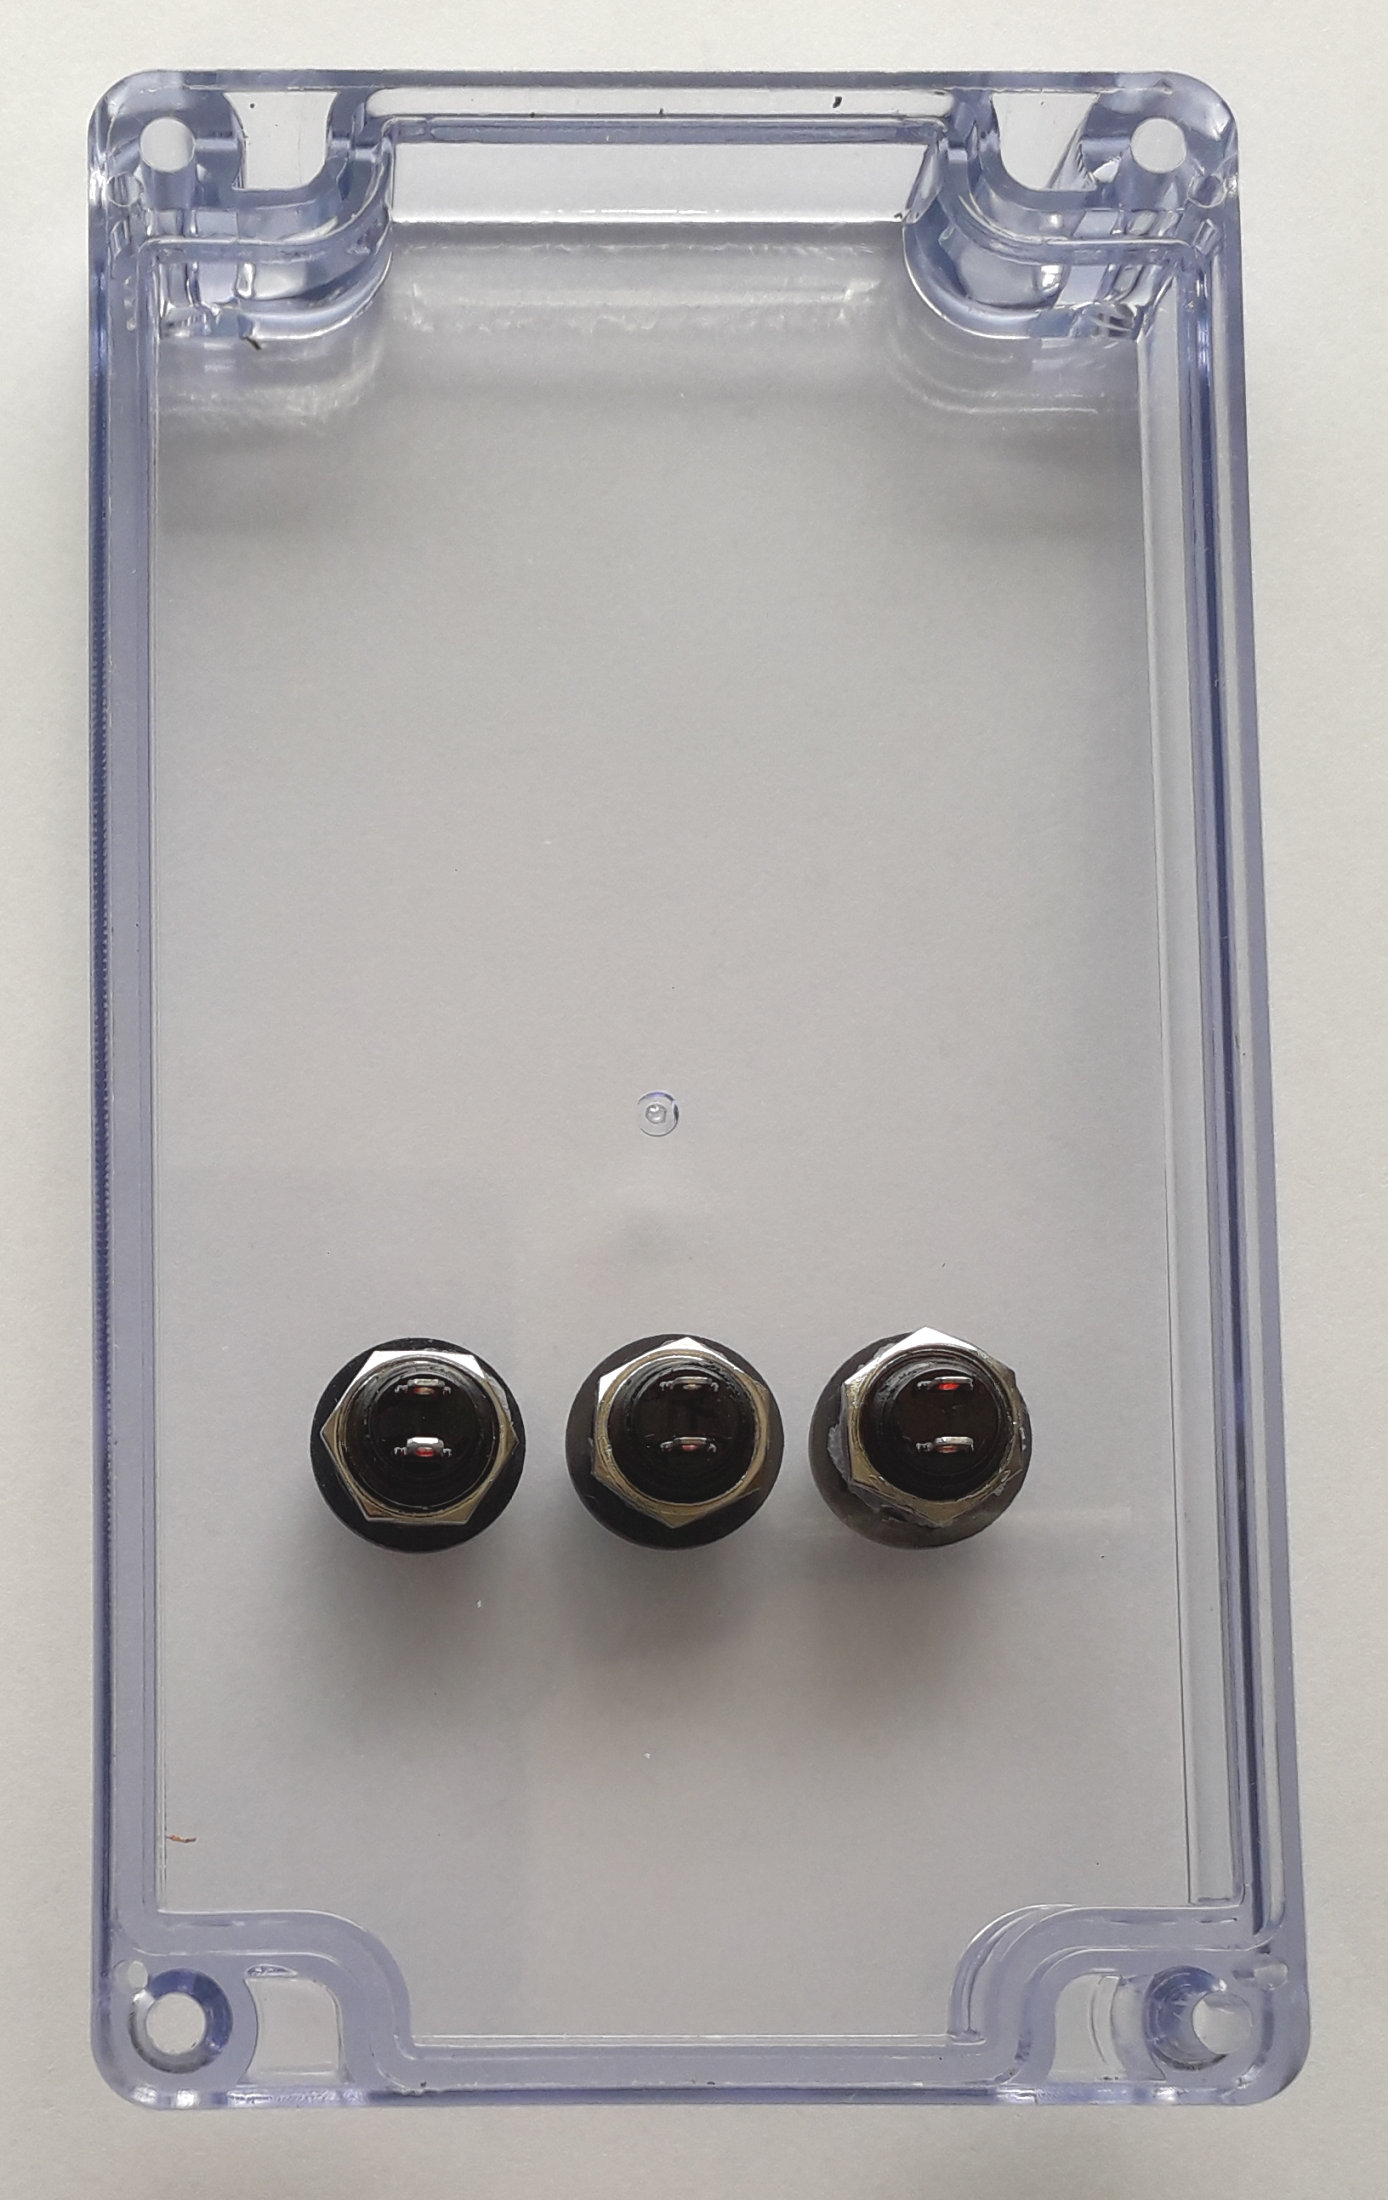
Bolt the three buttons to the top without O-ring gasket and without spring washer. This button model has a plastic thread and a metallic nut, so be careful to not tighten them too much or you will damage the plastic thread. Keep the buttons terminals perfectly aligned, using the front-end PCB to check the alignment.
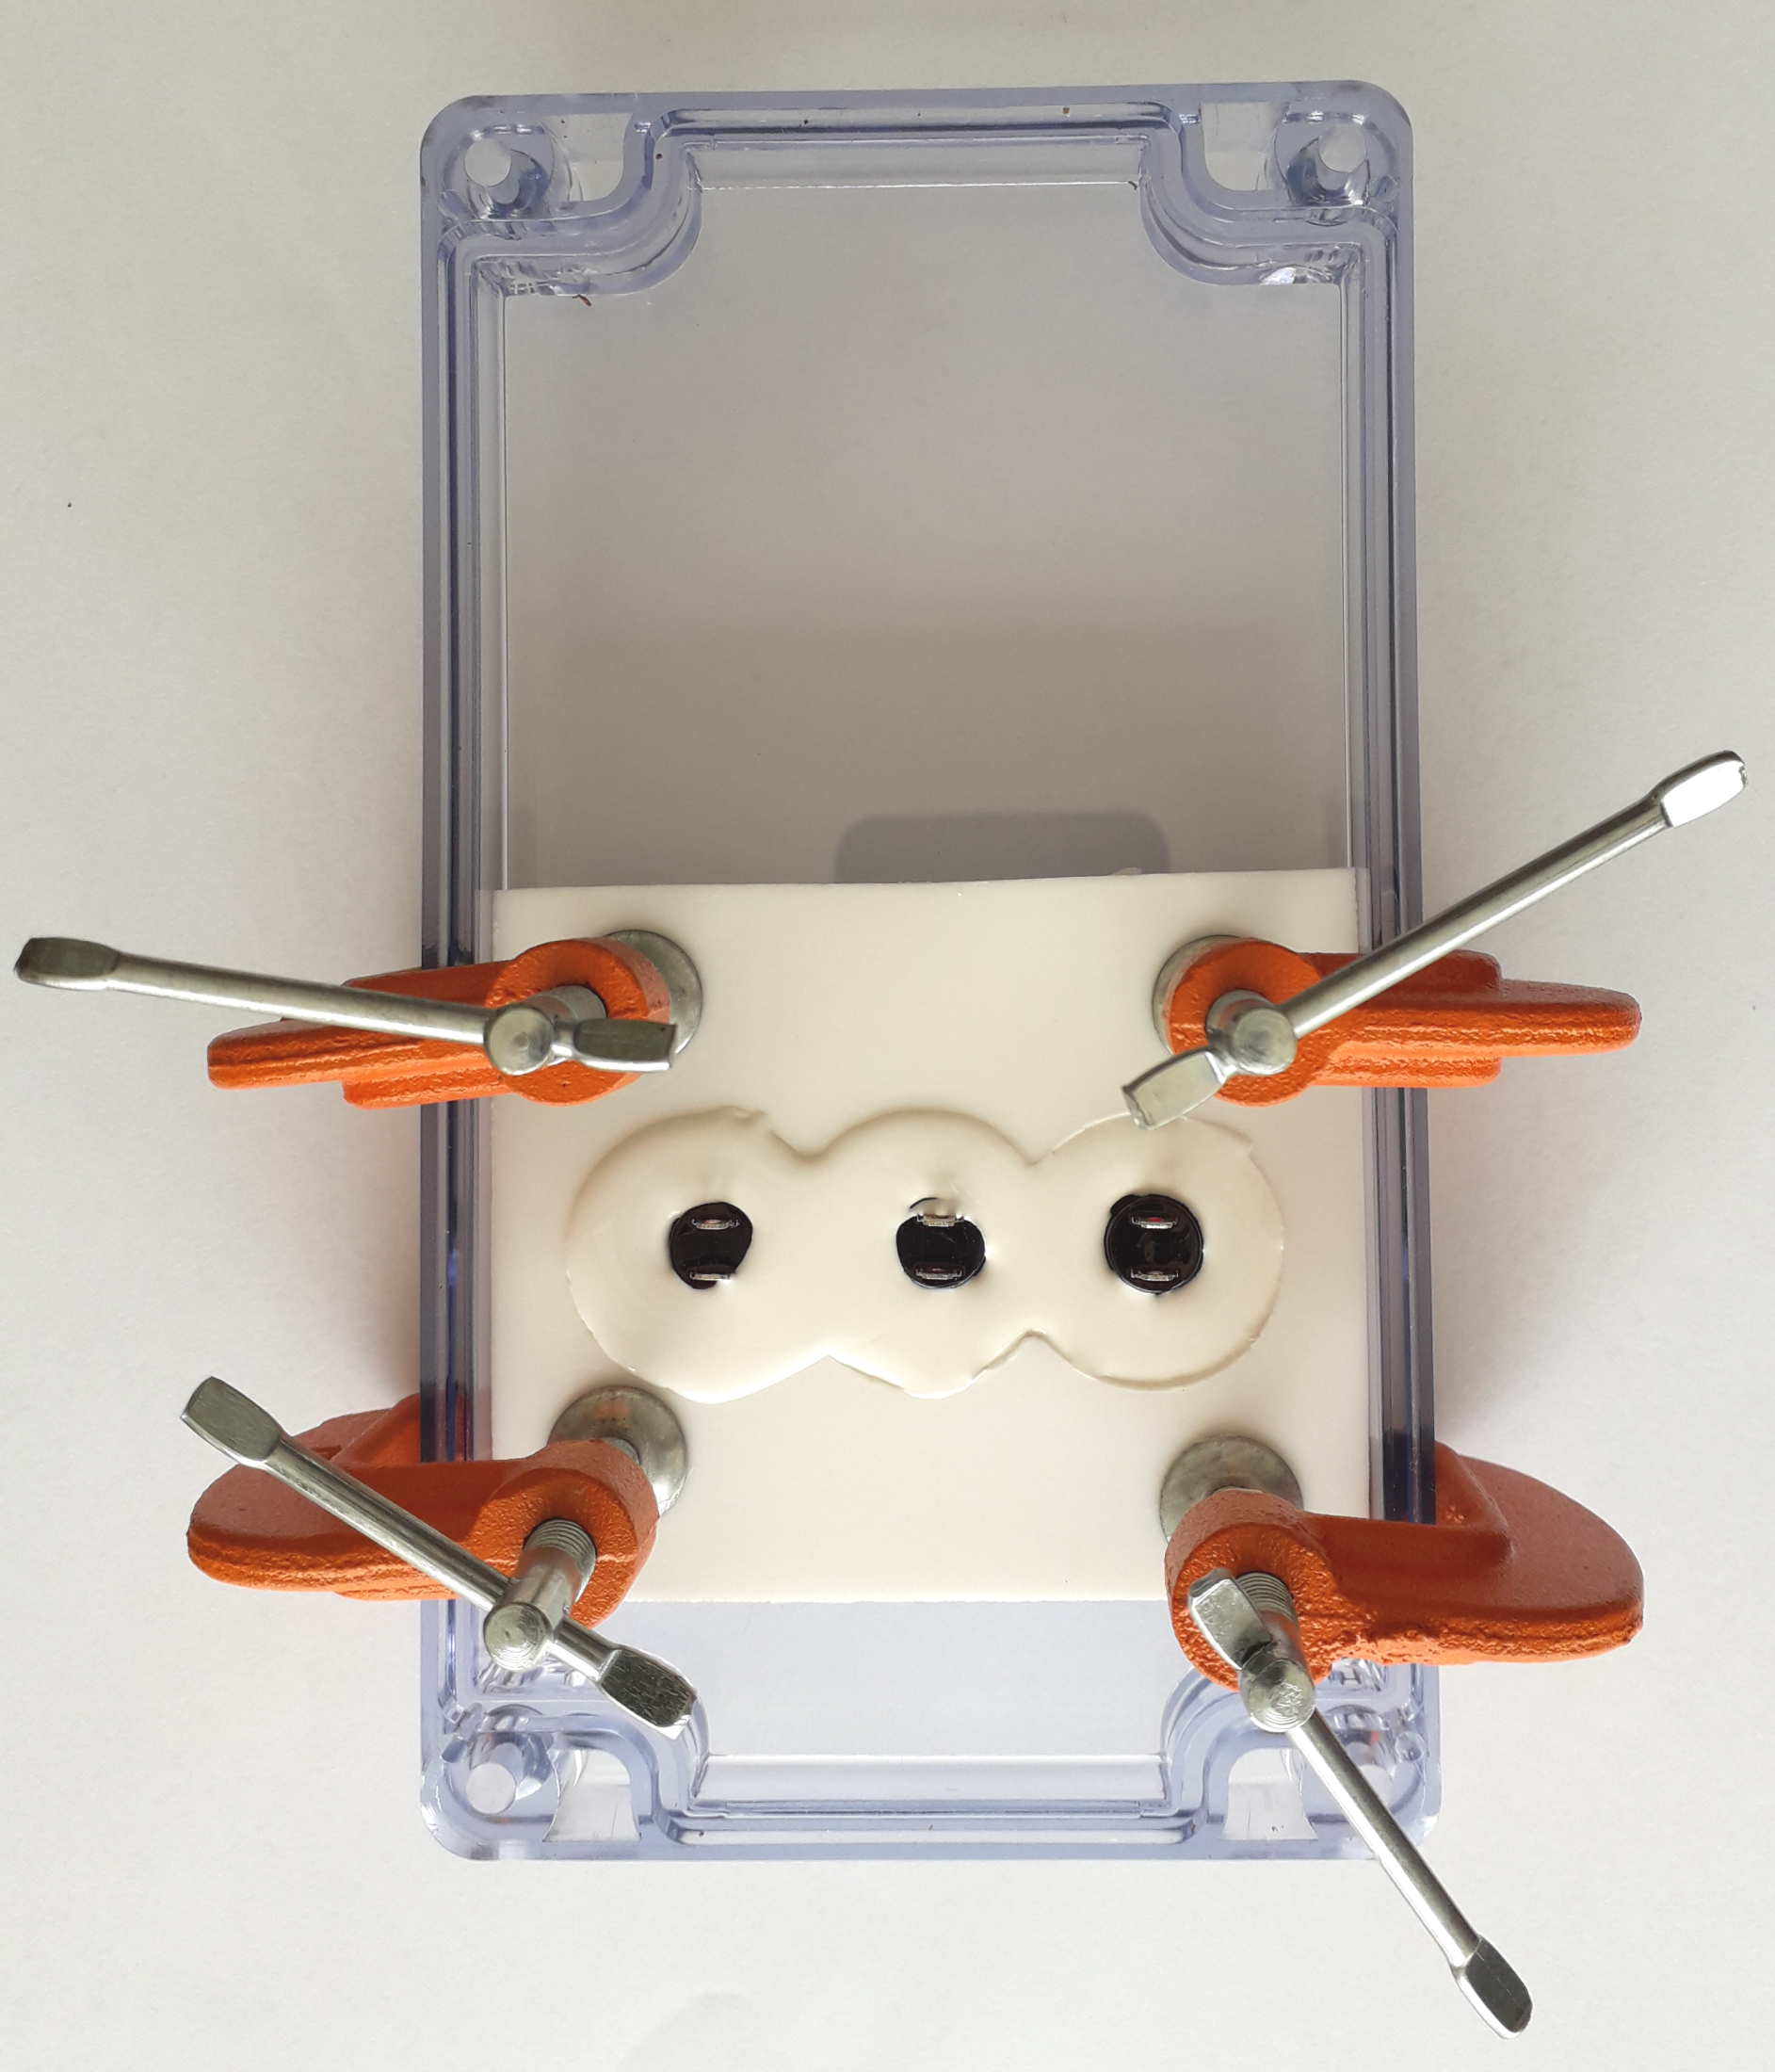
Prepare a form drilling three 25 mm holes in a 5 mm thick sheet of Teflon (PTFE) following the schema in the picture. Teflon is the ideal plastic for this scope because it cannot be directly glued to anything, and you can reuse this form as many times as you wish. If you don’t have Teflon available and you don’t mind about reusability, you can use a sheet of polystyrene/styrofoam with the same sizes.
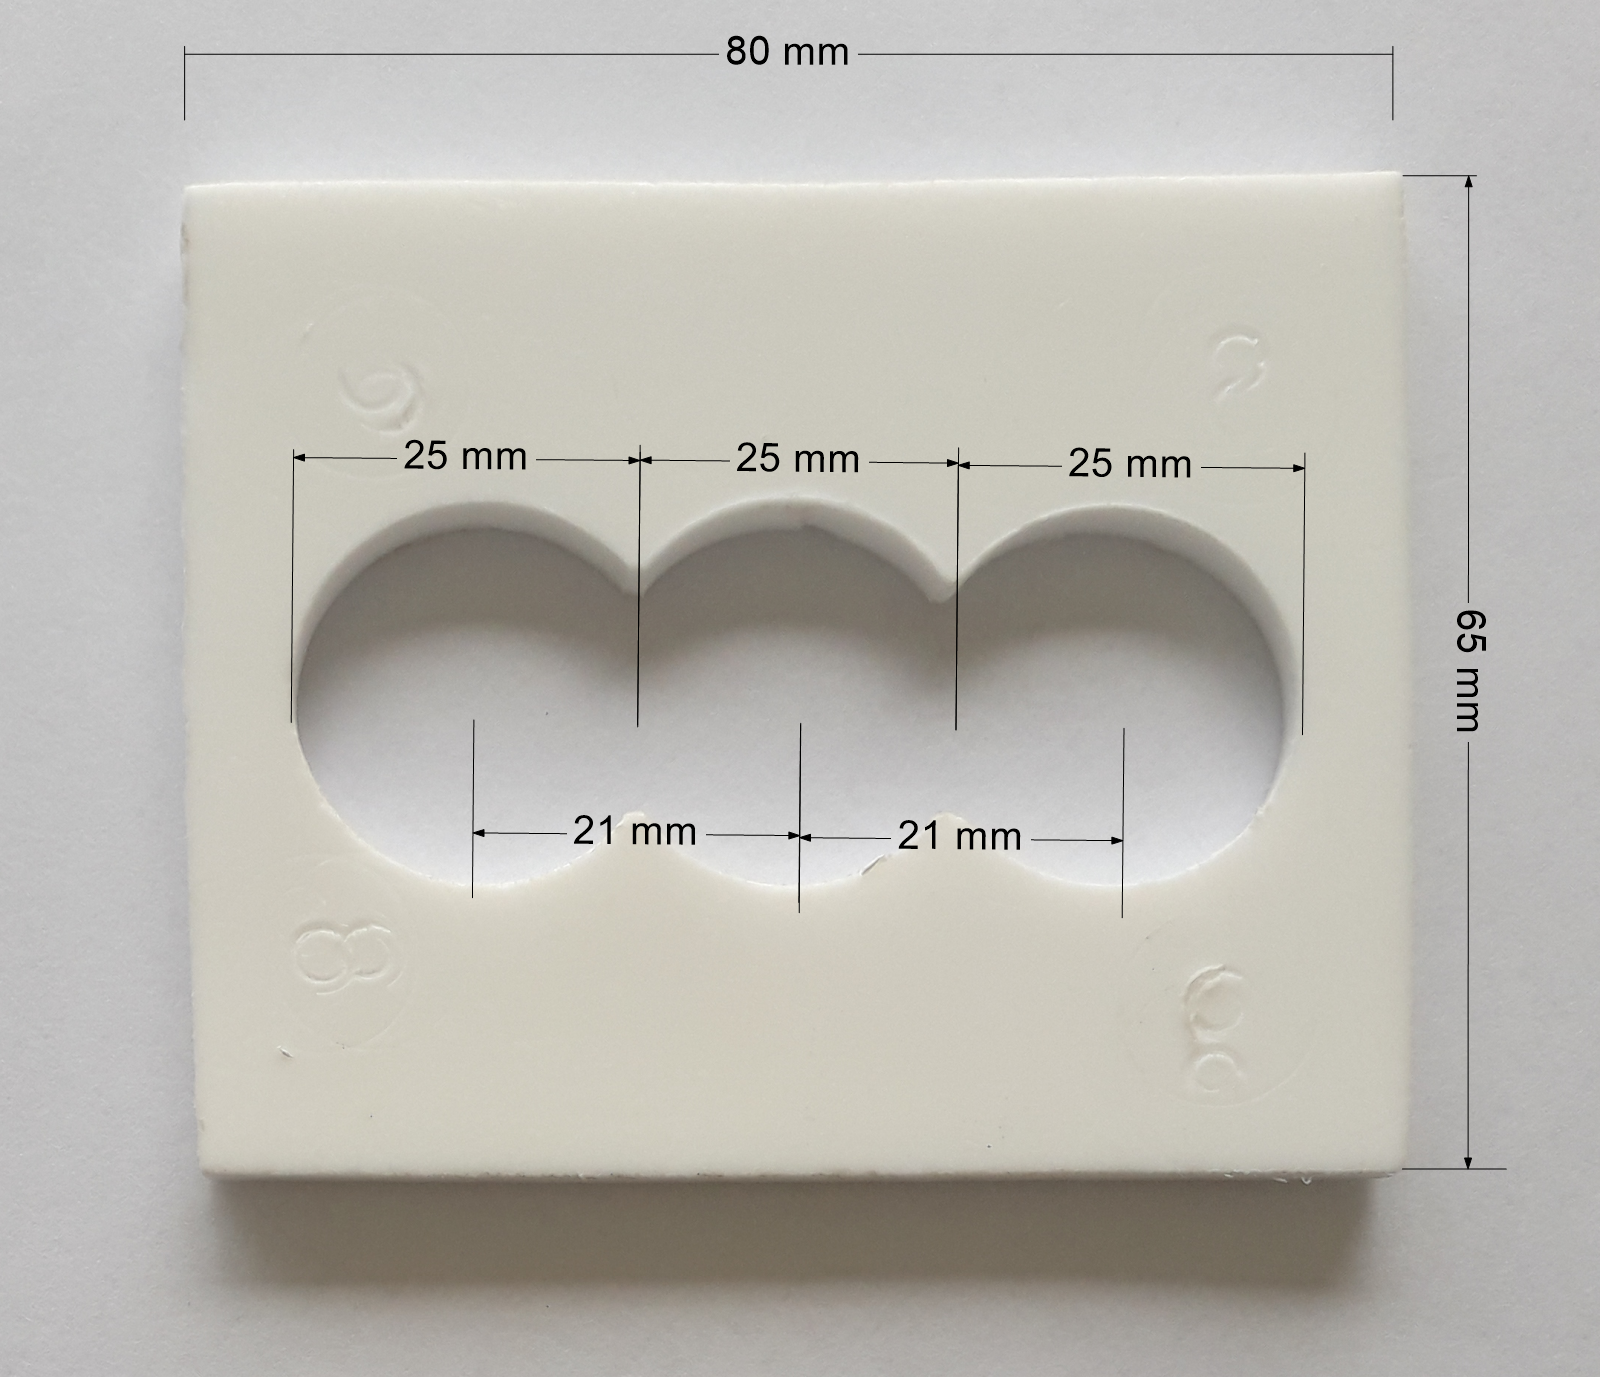
Press this form against the internal part of the transparent top using clamps. Be careful to not produce scratches on the transparent top with the clamps. The three nuts of the buttons must be centered in the holes of the form. Fill the gap between the form and the buttons with neutral silicone.

"704" is the ideal silicone to use in this work for the following reasons:
- it can face extreme temperatures and UV rays
- it is chemically stable over time
- it is highly waterproof
- it is tougher than normal silicone
- last but not least, it is neutral, so it doesn't release chemicals and it is safe for the worker and for the environment
Do NOT use acetoxy silicone or cyanoacrylate glue (like Super Attack) because their fumes can chemically react with the transparent top making it blur!
Go back to the enclosure page